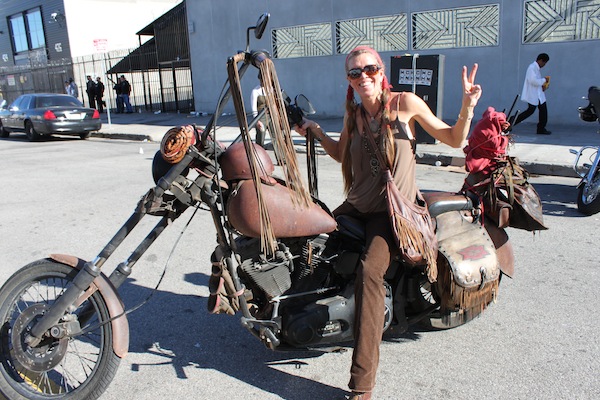
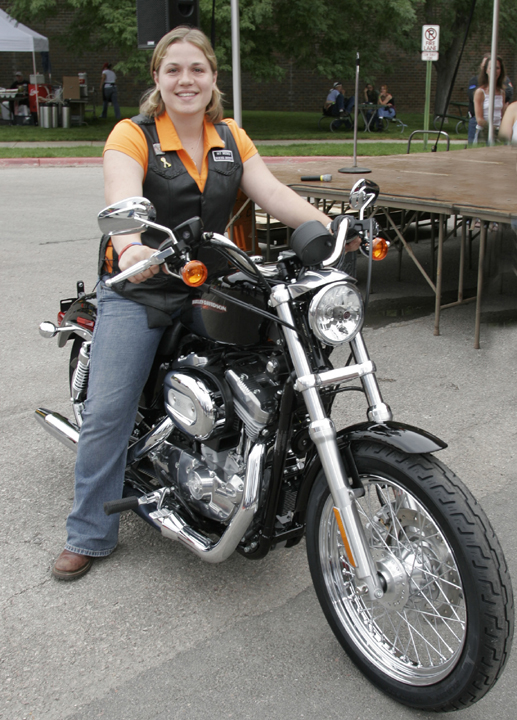
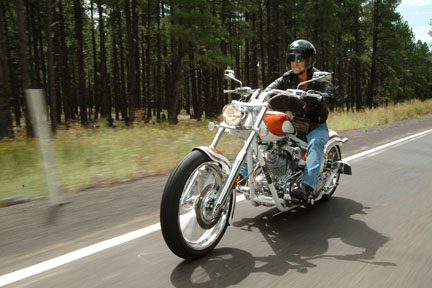
Sometimes it’s the simplest thing that attracts women riders to a particular motorcycle. In the case of this Harley-Davidson Street 750, it was the sissybar/luggage rack accessory mounted to it that drew MAD Maps founder Jenny Lefferts to it. In fact, she lovingly refers to it as a “purse holder.” You see, Jenny’s 1993 Sportster 883 doesn’t have any room for storage, and frankly, the Sporty is just not as comfortable and fun to ride as it was 25 years ago when she bought it.
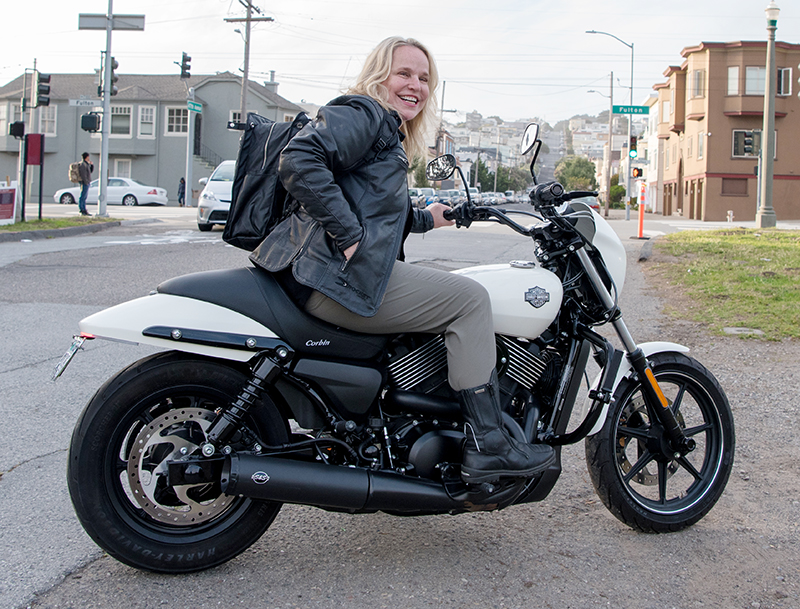
When Jenny Lefferts took the Harley-Davidson Street 750 out for a spin she rediscovered how much fun motorcycling can be with a comfortable, easy-to-ride bike. After almost 20 years of riding a temperamental Sportster that she only later found out isnt set up to fit her smaller stature, she bought this Street 750 and modified it to fit her body and personal style. Here she is on the streets of San Francisco with her customized bike sporting the Motochic Lauren bag WRN reviewed here. The luggage rack that initially attracted her to this bike was reinstalled after this photo was taken.
The first thing to do when buying any motorcycle is make ergonomic adjustments to things like handlebars, levers, footpegs and foot controls, seat, and suspension. You need to easily reach the grips and have a relaxed bend in your elbows with feet and hands comfortably able to use all the controls. This might mean swapping some parts for aftermarket accessories that offer a different fit.
In order to achieve the perfect fit on her Street, Jenny, who is only 5 feet 3 inches tall, worked with several industry pros, including Declane “Irish” Malone and San Francisco Harley-Davidson’s (SFHD) Todd Gregson who helped her find the right parts to order and install so theyd all work together without any surprises.
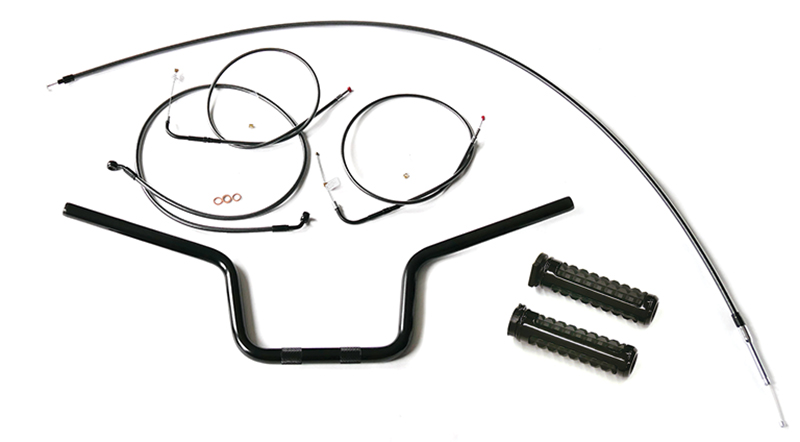
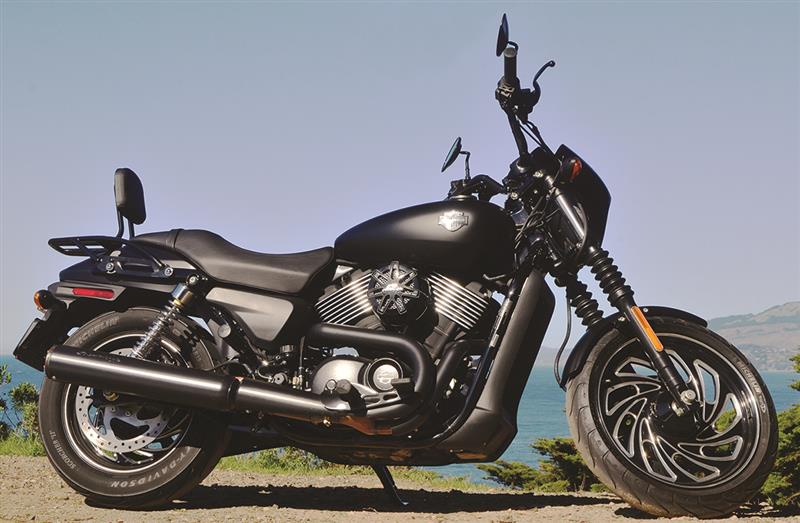
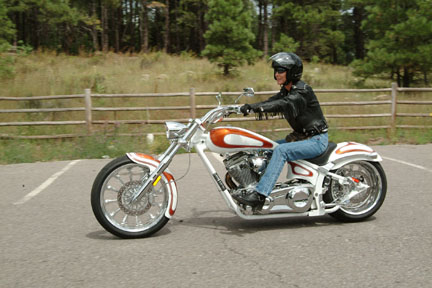
In this article, we show how to install Harley-Davidson’s reach handlebar (#55800224, $69.95 and Dominion grips (#561-00233, $89.95) that bring the grips two inches closer on the Street 750. Often when replacing handlebars or risers that bring the grips closer to you, you need to replace the cables and brake lines with longer ones. Jenny upgrades the Street to use Magnum Shielding’s braided Pearl Black series (brake line #4686SW, $74.95; clutch cable #42272HE, $84.95; throttle/idle cable #43372, $67.95 each).Jenny’s Street 750 as purchased—stock except for Screamin’ Eagle slip-on and air cleaner, H-D Typhoon wheels, and the Harley quick-release sissybar/luggage rack that initially drew Jenny to it.
Support the Street on a lift and remove the seat, tank, bars, fairing, mirrors, and hand grips. Bleed the brake fluid and remove the front brake line and control switch housings.
Place the Harley-Davidson reach handlebar between the clamps and tighten the stock bolts using a 6mm Allen bit.
Run the new Magnum clutch cable down the backbone of the bike following the same route as the stock cable.
Loosely install the left switch housing and upper clutch perch on the new handlebar.
Install the stock mirror using an 8mm socket.
Slide the stock clutch boot onto the Magnum cable.
Install the Magnum upper clutch cable ferrule into the clutch lever.
Then screw the stock upper jam nut onto the Magnum clutch cable.
Guide the end of the cable into the lower perch and secure it with the lower jam nut.
Insert the end of the clutch cable into the actuator.
Use two 14mm wrenches to tighten the jam nuts to the lower perch.
Adjust the cable, leaving 1/8 inch of free play then zip-tie the cable in place.
Slide the left H-D Dominion grip onto the handlebar where it is held in place by the left control housing.
Use a Philips head screwdriver on the two stock screws to tighten the control housing.
On the right side, reinstall the front brake master cylinder using an 8mm socket.
Plug in the front brake light switch terminals. They should just barely reach now.
Use a 12mm wrench to install the Magnum brake line, crush washers, and stock banjo bolts.
Use a 5mm Allen wrench to reinstall the P-clamp under the lower triple tree to hold the brake line in place.
Use a 12mm wrench and the supplied crush washers to attach the banjo bolt to the caliper.
Torque the banjo bolts to 14 ft-lbs.
Next, attach the lower end of the throttle cable and the idle cable to the throttle body.
Insert the idle and throttle cables into the lower switch housing and secure them by installing the retainer using a #2 Philips screwdriver.
Slide the throttle grip onto the handlebar and insert the throttle ferrule into the notch.
Rotate the throttle grip around and feed the idle ferrule into the other notch.
Then use the Philips head screwdriver on the two screws to tighten the right-side control housing and set the cable free play.
Remove the master cylinder cap using the Philips screwdriver.
Then connect a brake bleeder to the brake caliper bleeder valve.
Fill the reservoir with DOT4 brake fluid and bleed the brake line. Reinstall the master cylinder cap and give the brake lever a few squeezes.
Reinstall the fuel tank and fasten the ground wire to the fuel pump backing plate with the stock nut.
Reinstall the fuel pump and the fuel crossover lines, using a new clamp. Then installs the bolt securing the rear of the tank.
Heres what the new bars, grips, and cables look like. We’ll finish Jenny’s Street ergonomic upgrades in the next article with a new seat, footpegs and engine guards.
This series of Harley Street installation articles originally appeared in the now defunct American Iron Magazine.